First off, I have a little announcement to make. After my last video, I scooted on past the 1000 subscriber mark. I am eternally grateful for each and every one of you first 1K that enjoyed my content enough to hit that subscribe button. Oh, is that button still red for you? Well, luckily, I am now currently accepting subscriptions to be in the first 2000 sub club.
Now if you were around about fifteen videos ago, you’ll remember I did a full IPS display mod and shell replacement on a DMG Game Boy. Then I gave it away. My friend Milkes actually won it and I shipped it off to Great Britain. Ever since then, I had been wanting to do some more Game Boy mods, but life ended up getting in the way, my uploads slowed down a bit, and I just never got around to it. Over the last couple of months I have been slowing buying games and consoles here and there if I can find a great deal, and right around the time that I was buying up those lots of games (video here) I managed to snag several Game Boy Colors and a few more DMG Game Boys.
By the way they call these DMG Game Boys (the big gray bricks) because of the model number DMG-001.
It was around that time that I was looking at what the latest mods and screens were available for the Game Boy Color when I came across the FunnyPlaying Q5 2.0 Laminated IPS panel. I must have ordered it a day or two after release because I had trouble finding anything about it online until it arrived.
I ended up sitting on it for a week or two before doing the (first) install of the screen. I actually did it live on Twitch, and aside from my shoddy soldering work, I managed to get it working. Well, kind of.
Follow me on Twitch if you don’t – we do a weekly podcast over there called the TYCAST. I also play games and do some live mods, like this one. (Link in the description)
So you do need to solder 7 points during the install for the screen and functions to work completely. There’s one point for the touch sensor, both ends of a wire to tap into the power module, and then both ends of two wires to tap into the start and select keys. Like I said, I had trouble finding much documentation on this mod, but I had found three installation videos. The funny thing is that each one had a different solder points to tap into the start and select buttons. I think they all technically work because they are in a circuit, but that was a bit daunting.
So anyway, I wrapped up my stream after powering on the Game Boy and having a functioning screen, The “touch” sensor to adjust brightness also worked, but the hotkeys (holding the start and select keys down) wouldn’t register, which didn’t allow me to change the color of the “Game Boy Color” logo. I would later realize that there were also some issues with the power draw and my Game Boy would shut off after about four minutes. This wasn’t right.
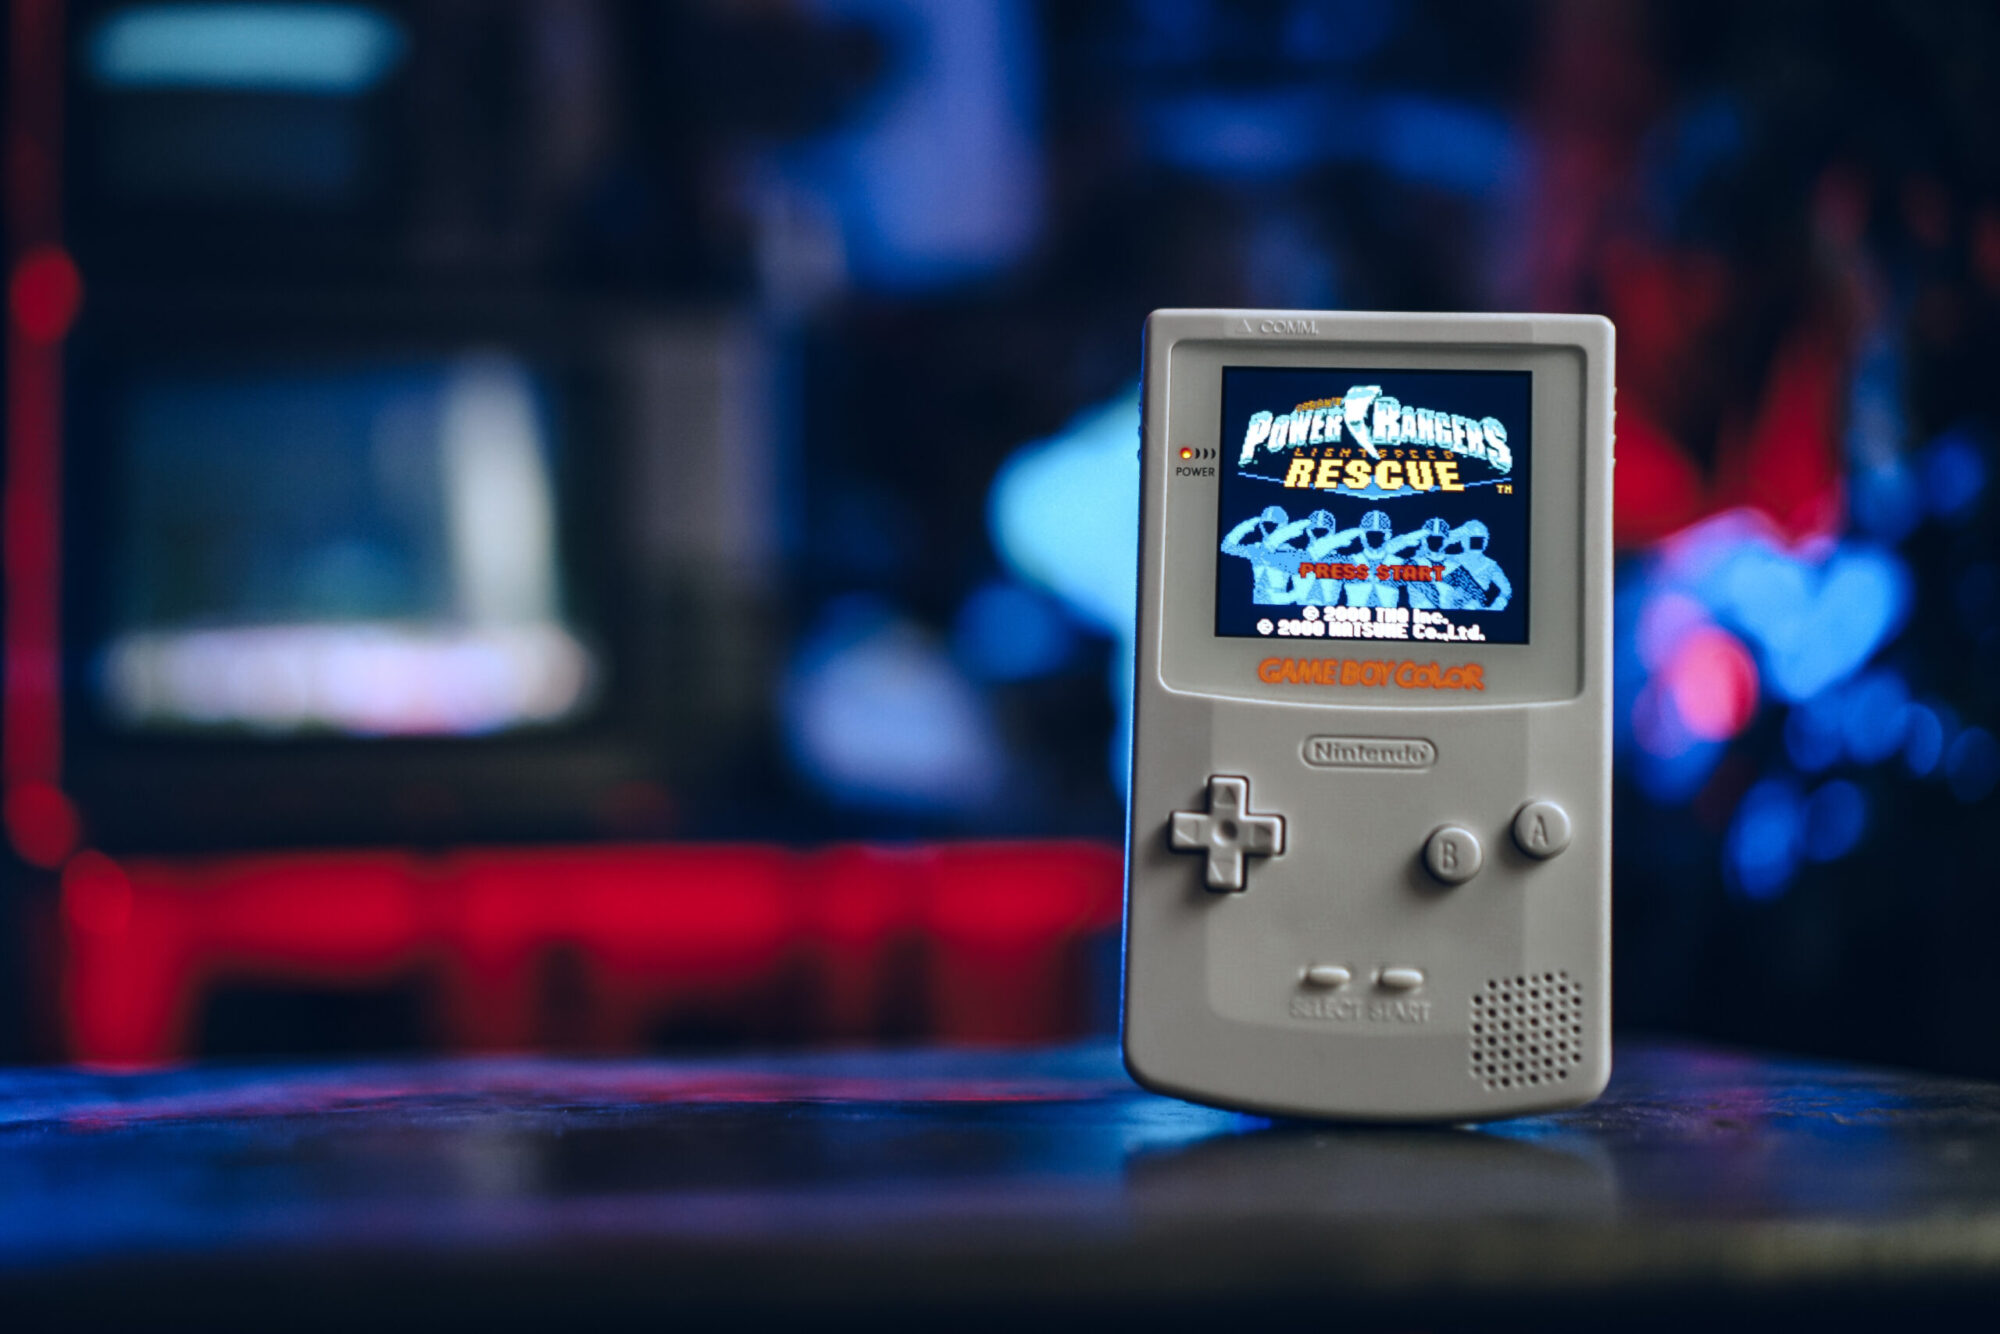
Oh, why did I use Power Rangers Rescue for all my testing? Because believe it or not, the color palette used in the title screen actually has the widest color gamut of any game released on the Game Boy Color. Nahhh I just had two copies from lots I bought.
Oh yeah, before I go on – this screen is actually pretty amazing. So it’s the version 2 of the display, this one has the panel and the front glass laminated together, which feels really nice to just drop in without alignment like I had to do with the DMG display. I should also note that you need to use 3rd party shells to install this – it is possible to use an original shell but it’s exceptionally complicated and not worth it. Plus 3rd party shells are so cheap and high quality now. And you can get practically any color you want. I went all white for this build.
The other thing you may notice is that the screen is actually about 25% larger in size, which looks so insanely good.
Other features include the ability to change the color of the Game Boy Color logo under the screen, cycle through different brightness levels of the screen, and also the ability to use five different “display modes” which looks to just add black borders around the pixels in varying size and pattern. It kind of looks like the scan-lines features of emulators. I like leaving it just normal.
So I mentioned my issues with the first install. It was basically unusable. I was a little discouraged and was ready to make a video about my failures getting it working, but this week I figured I would try again before going down that path.
I took another one of my Game Boy Colors are transplanted the PCB into my install, re-soldered all of the points, and fired it up. The Start & Select hotkeys were working! But the touch sensor wasn’t. I took it apart again, and again, and finally the handheld console was 100% operational – and the battery stayed on! This leads me to believe that it was likely my soldering that caused the issues – as I dropped the PCB back in
And now I’m a bit obsessed. This screen is absolutely gorgeous. And having the logo light up is quite the party trick.
I didn’t test myself, but judging from what has come out in the time since this originally released, it looks to get about 2/3-3/4 of the battery life of the original screen. Which isn’t that bad. If you are going to do this mod, you may want to just tack on the lithium ion battery mod while you’re at it.
That leads me to my next point – who would I recommend this for? If this is your first mod and you aren’t super familiar with soldering, I would probably suggest starting with something else. The DMG IPS screen mods only require you to solder the speaker, which is really easy – the screen is a snap-in ribbon cable.
The thing with all of these projects is that you’re modifying 20-30 year old handheld hardware. That was the plaything of dirty-ass children in the 90s. The fact that these still function at all is a testament to Nintendo engineering and quality. But the chance of dealing with weird issues is high. And all of this hardware is fragile. I just saw b_b_retro live stream a DMG IPS mod and just tightening the screws a fraction too tight caused the panel to be destroyed.
The other thing is that it seems like the companies manufacturing and reselling these kits are on such a tight margin that they leave a lot to be desired when it comes to customer service and support. Don’t be surprised if you have to re-buy parts, or get denied refunds or replacements.
Anyway, when it you break it down, this is the best way to play Game Boy Color games on authentic hardware. If you have some patience, a Game Boy Color, and a bit of soldering experience, it’s a fun little project. Modding handhelds has become a little passion of mine, and I’ve secretly wanted to start collecting more and more of these.
Have you ever modded a handheld console before? Did you destroy it or was it a success? Let me know in the comments below.
